Grandma's Chocolate Cake

This recipe makes 1 incredible 8" by 8" chocolate cake. For a 2 or 3 layer cake, multiply the amounts throughout. If using larger pans, keep the surface area ratio as close as possible, i.e., a double batch will cook nicely in either two 8" x 8" pands or one 9" x 13" pan. As the depth of the batter changes, you will have to adjust the baking time similarly.
The cake, when done, will be very moist. On the second day it will be just as good, and on the third it will be slightly heavier. It will keep well up to 5 days, when iced and covered. The cake freezes well, the icing does not. This is the perfect chocolate icing to go on the cake: who does not like icing, especially when it is more chocolate and not too sweet? Enjoy!
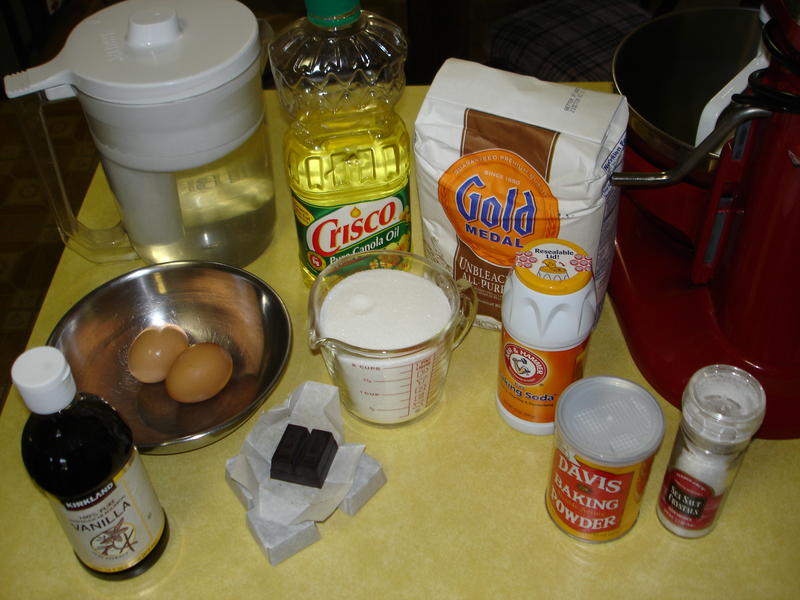
Ingredients:
- 1 cup sugar
- 1/3 cup vegetable oil (any kind with no strong taste)
- 1 egg
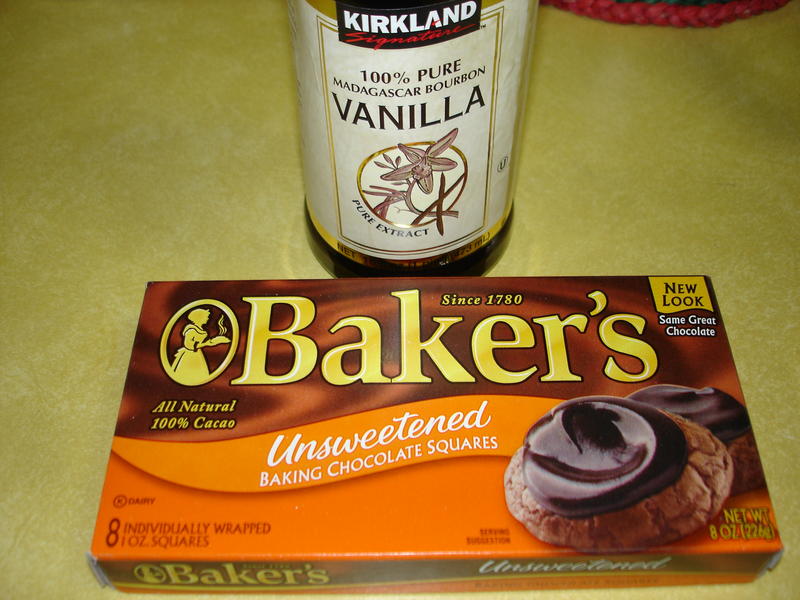
- 2 oz. (2 squares) unsweetened bakers chocolate, melted
- 1+1/3 cup sifted, unbleached flour
- 1 tsp. baking soda (exactly)
- 1 tsp. baking powder (exactly)
- 1/4 tsp. salt
- 1 tsp. vanilla extract
- 1 cup boiling water
You will also need:
- 1 stand mixer with paddle (a machine is not necessary, but is faster and frees up time for other tasks)
- 1 8" square baking pan, or more, depending on how many batches you make
- 1 piece parchment/wax paper per pan(s)
- 1 2-quart saucepan
- 1 flexible spatula
- n your coice of pan release (oil, butter, baking spray)
Instructions:
- Start by laying out all your ingredients, pre-heating the oven to 300degF, and starting a quart of water to boil in a saucepan. (Boil more water if you are making more than 1 batch.)
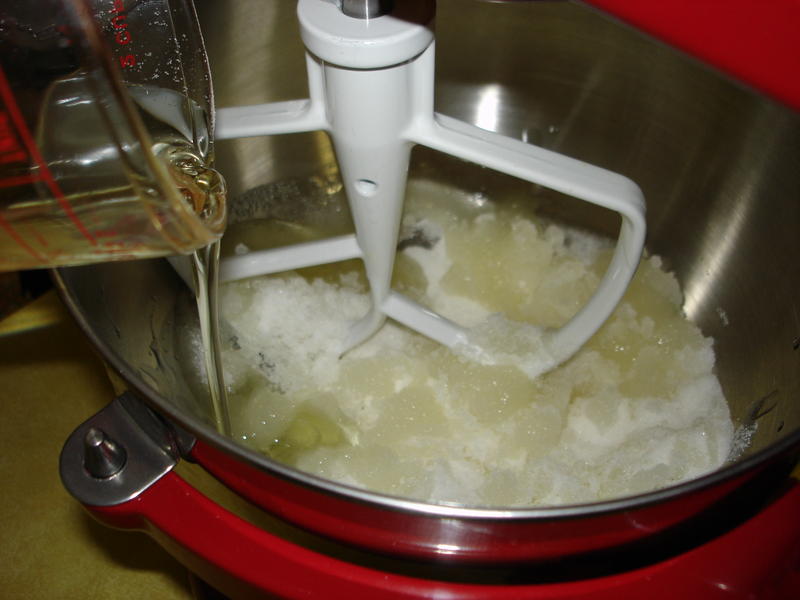
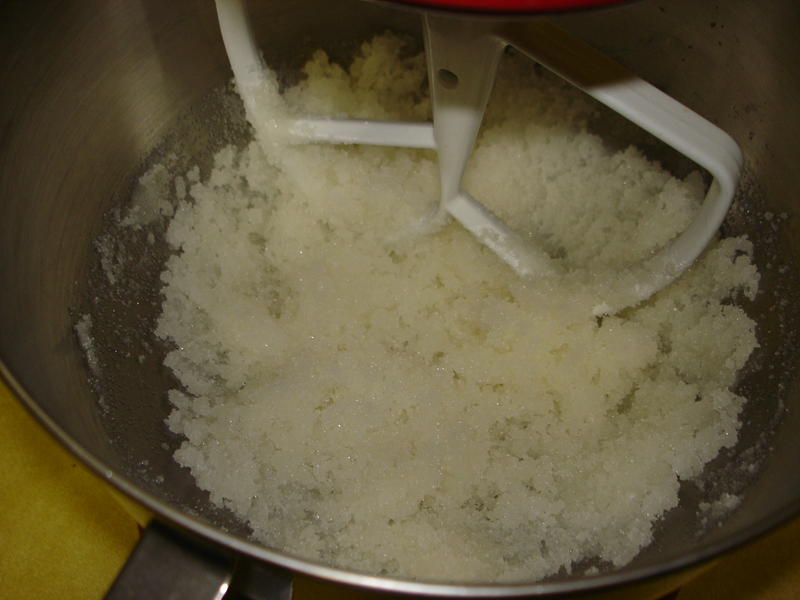
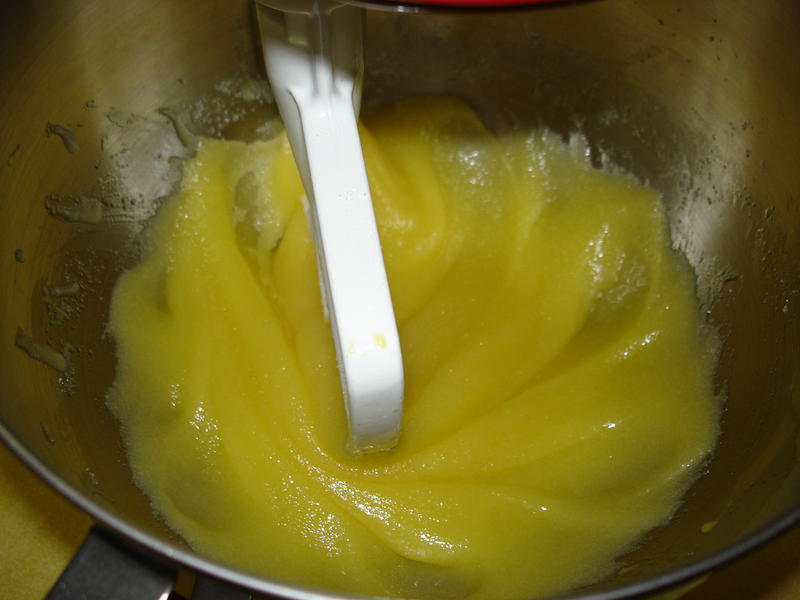
- Starting with a clean bowl, add the sugar. Mix in the oil. Blend slowly but well.
- Scramble the egg lightly and add slowly while mixing.
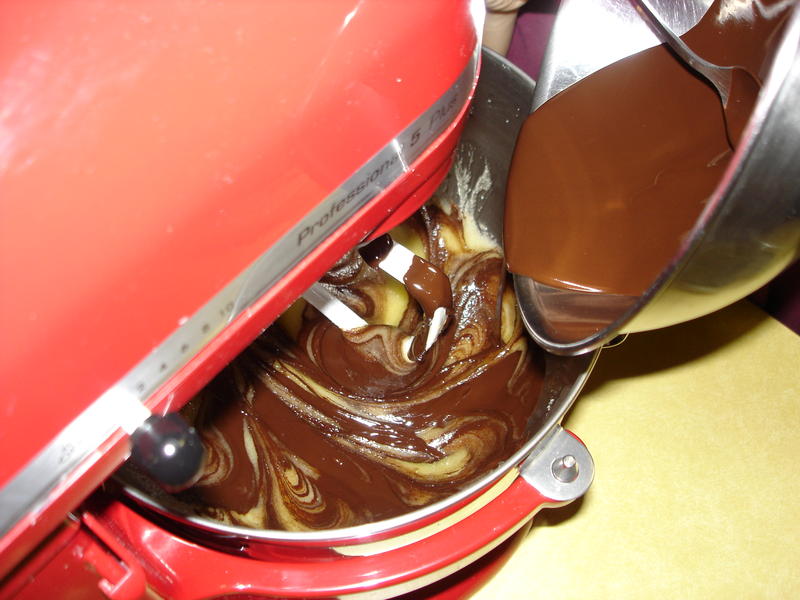
- Move over to the stove and put a metal bowl atop the boiling water (it should sit nicely atop the pan, but not touch the water). Place the squares of chocolate in the bowl to melt and slowly stir until they are completely melted (1-2 minutes).
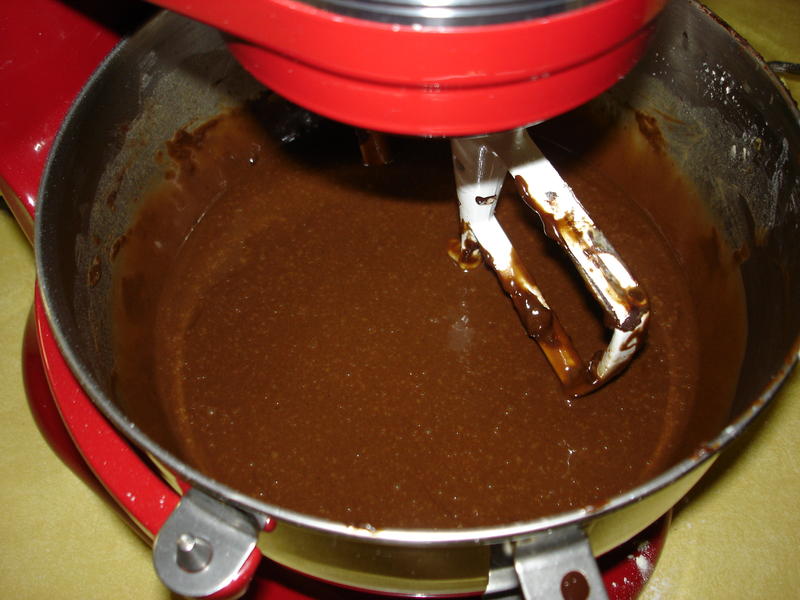
- While mixing, slowly add the hot chocolate to the mix. Use a spatula to get all of it into the mixing bowl, as this is concentrated cocoa! Mix until the marble texture is eliminated. Stop the mixer and scrape down the bowl with a spatula, then mix again briefly to ensure uniformity.
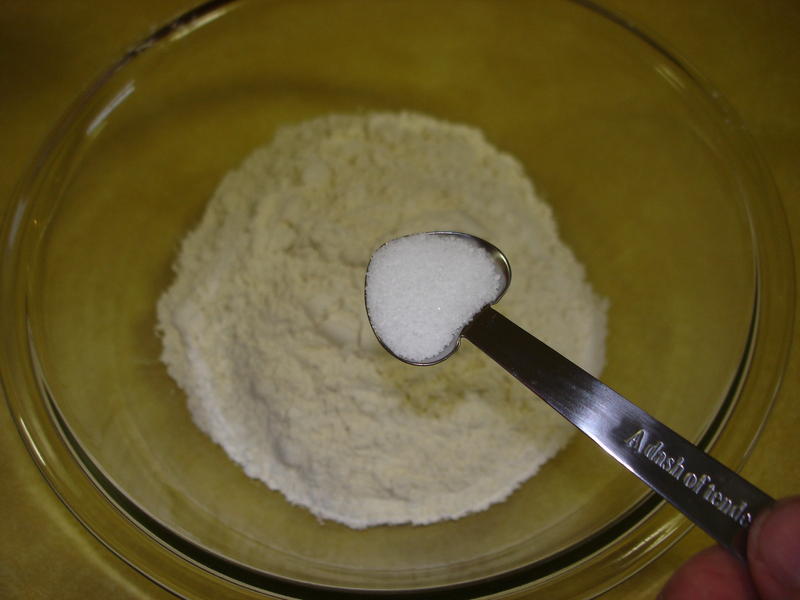
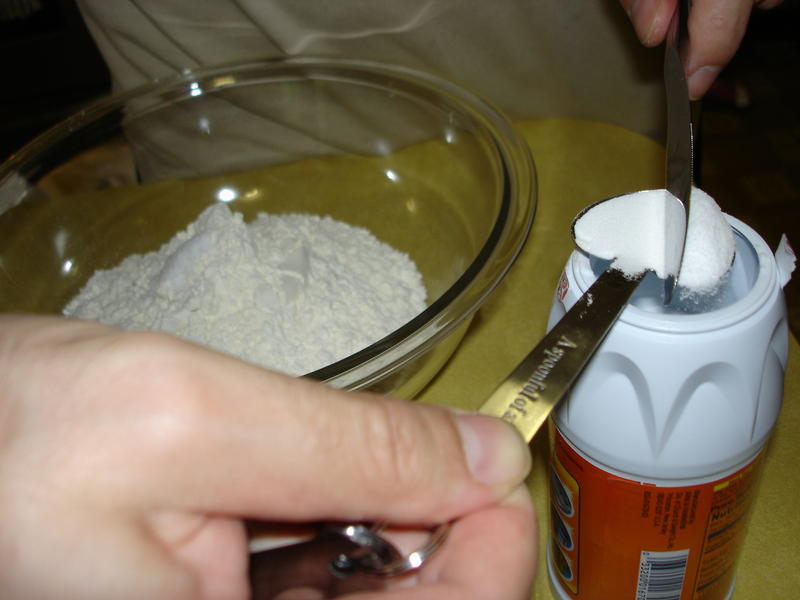
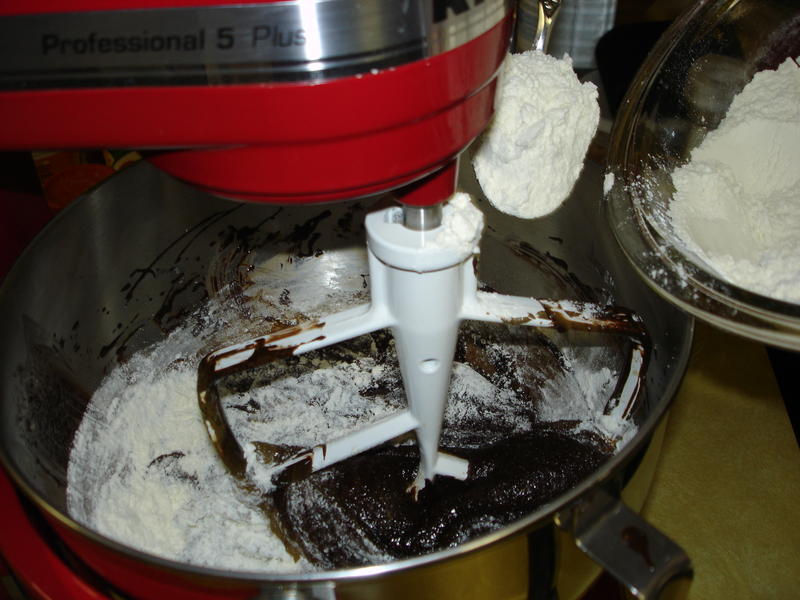
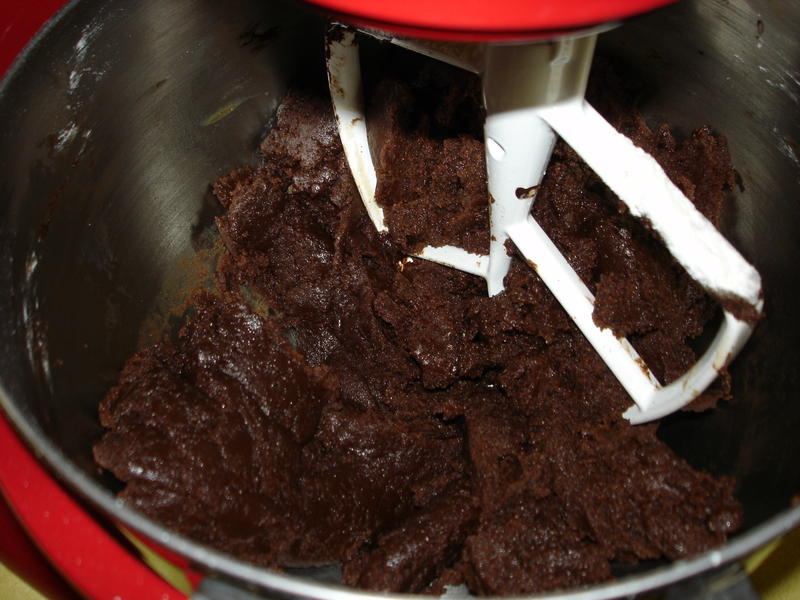
- Next mix the flour, salt, baking soda and baking powder in seperate bowl until blended evenly. A whisk works nicely. In small batches, add the dry ingredient mixture, allowing it to mix in without creating lumps. As you come to finish this step, the batter will form a mass on the paddle and clean the sides of the bowl. Stop the mixer one or two times to clear the dough from the paddle for even distribution of all ingredients.
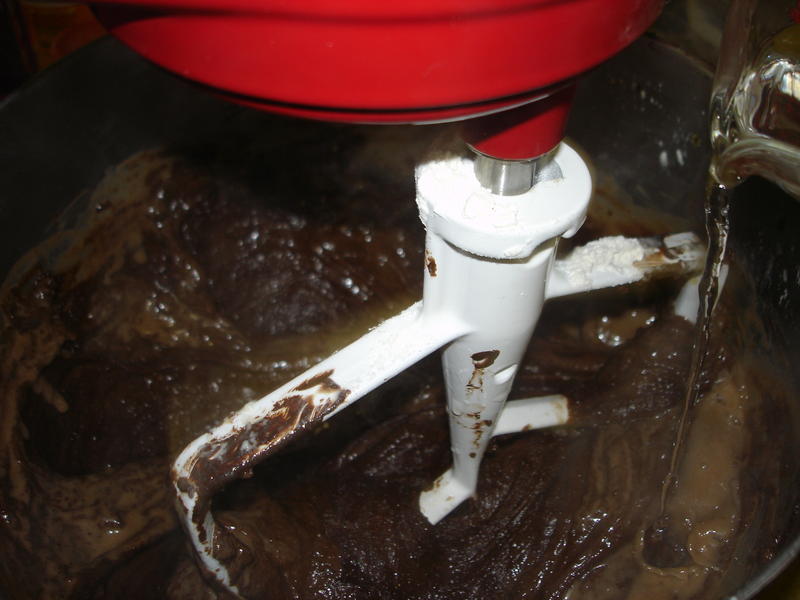
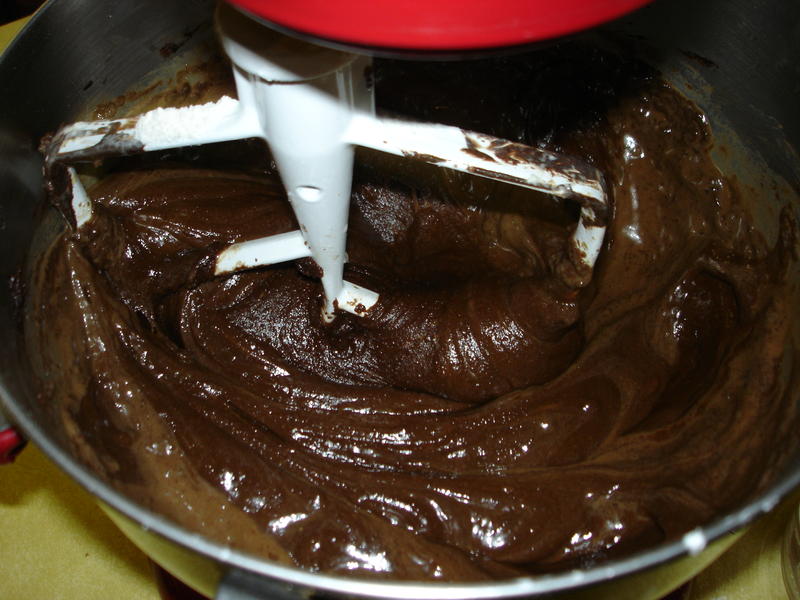
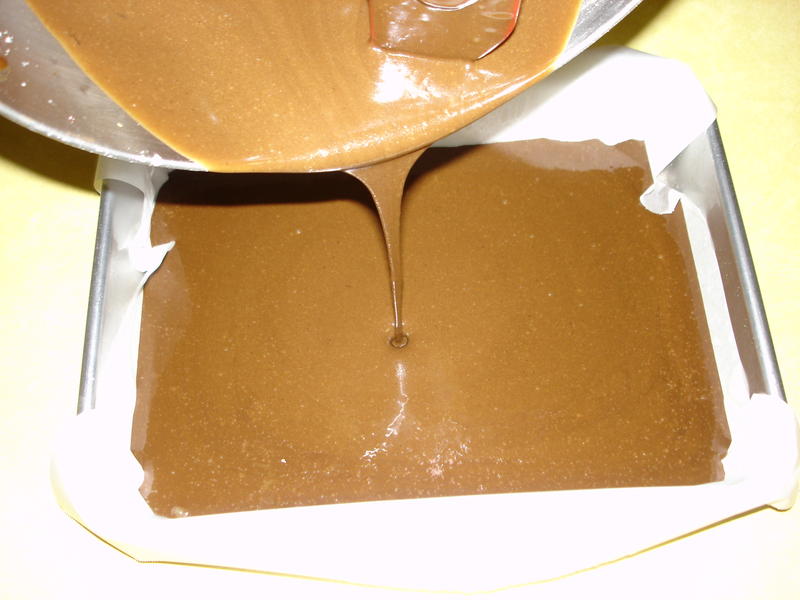
- After the mixture of dry ingredients, slowly pour the boiling water onto the dough, allowing it to mix in fully after each 1/4 is added. We add the water in quarters to allow it to reach homogeneity at each step so no lumps are present when done. When complete, the batter will be VERY THIN.
- Last, mix in the vanilla extract.
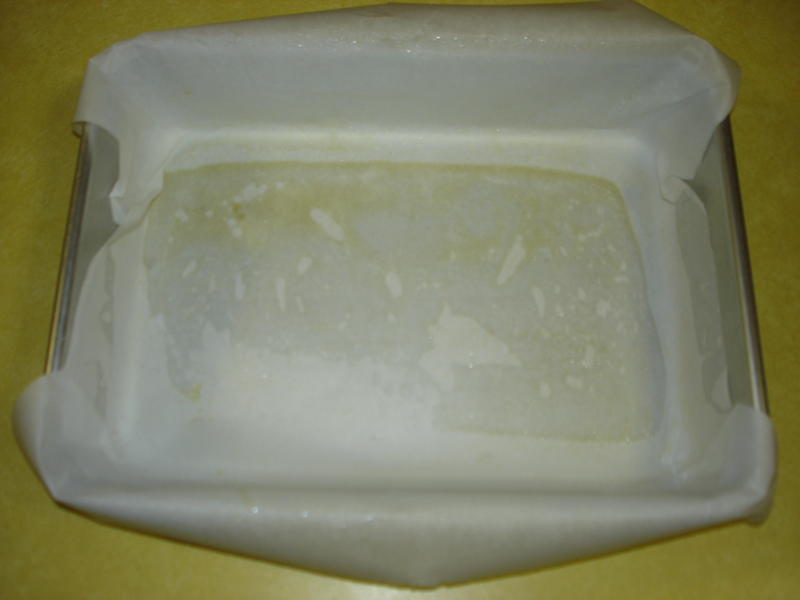
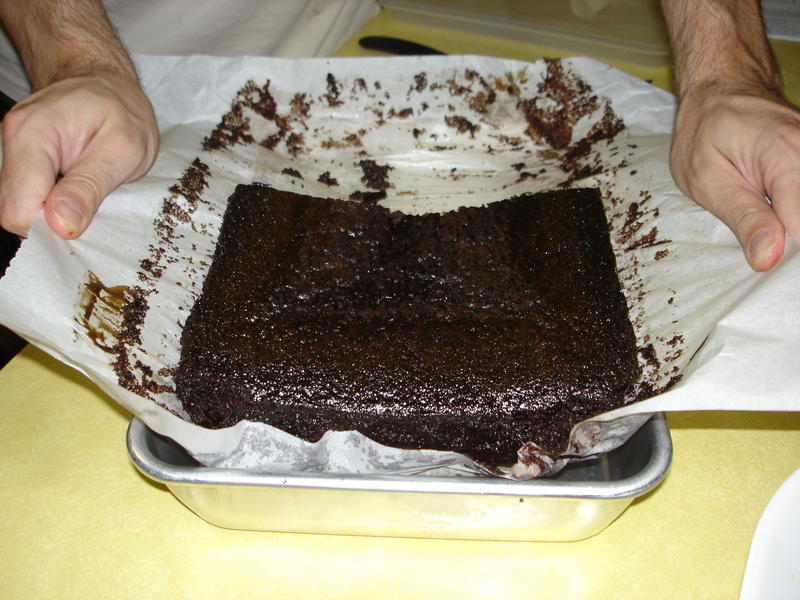
- Grease your pan with oil/butter/margerine and line with parchment or wax paper. Make sure to leave at least 1" of extra material on each of two opposing sides. This is critical for removing the cake after baking, as it will be very moist and spongy. It is also helpful to grease the batter-side of the paper as well...don't worry about getting every nook and cranny, just the broad surfaces.
- Gently pour the batter in to the pan, ensuring the paper stays in place. The batter will be about 1" deep: it will rise to about double and then settle some during he course of cooking and cooling.
- Place the pan in the oven, on a rack centered in the oven. Set the timer for 30 minutes.
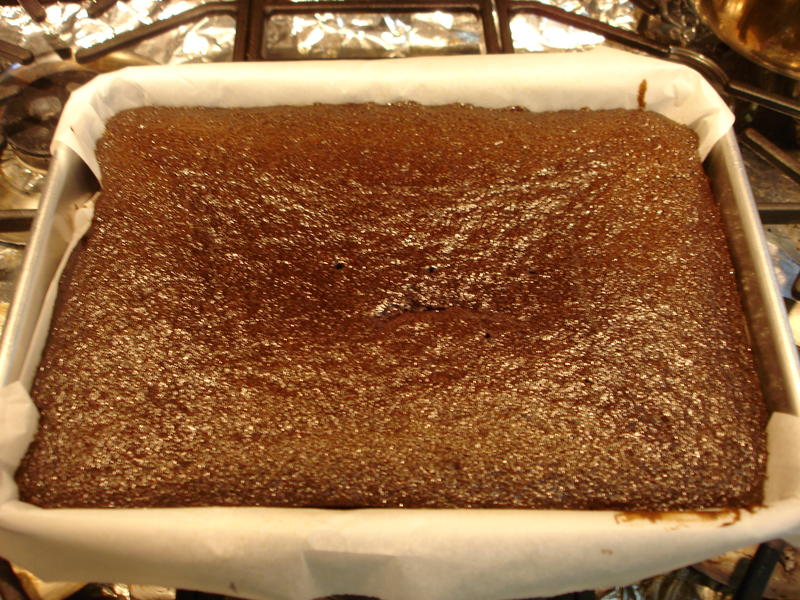
- Baking typically requires 40-45 minutes, but you know your oven, so check and adjust as needed after 30 minutes. The cake is done when it passes a toothpick test: a new toothpick can be inserted fully, near the center, for a second and then removed and remains clean. If there is a lot of batter on the toothpick, the cake will need another 5-15 minutes. If there is very little residue and you have already run 45 minutes, you can turn the oven off, close the door, and let it "coast" for 5-10 minutes: as we did for our doubled recipe in a 9" by 13" pan.
- Remove the cake from the oven and allow to cool to room temperature on the range top or a cooling rack. Do not cool it in a window/breeze.
- Grasp the two exposed 'wings' of paper, pulling apart and upwards to lift the cake out with the paper.
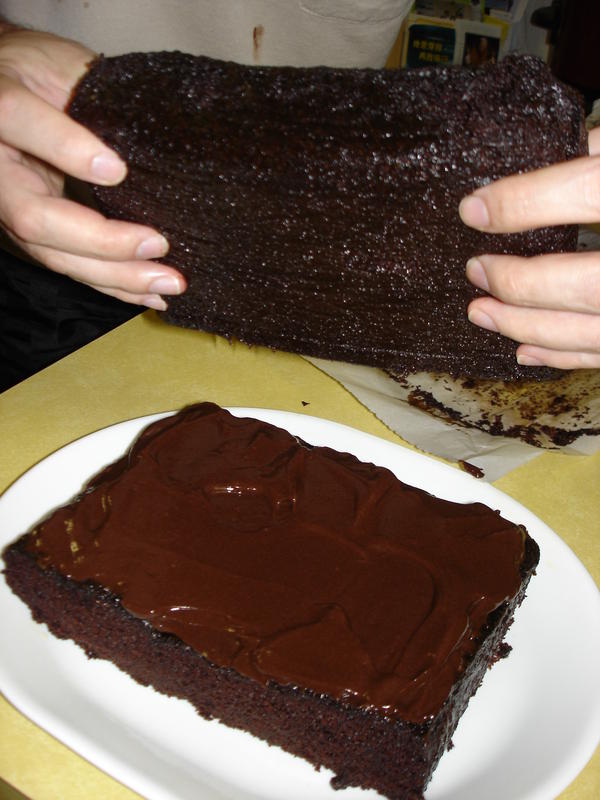
- Make any cuts needed to achieve the desired number of layers. If the cake will have more than one layer and icing is being used, estimate the amount of coverage area the interlayers represent, then use that ratio of icing to "glue" the layers together. You can make thicker inter-layers, just make sure to leave enough icing for the outisde!
- Stack the additional layers as you progress, using care to make sure pieces are well supported when carrying and manuervring them, as they will tear and dent easily.
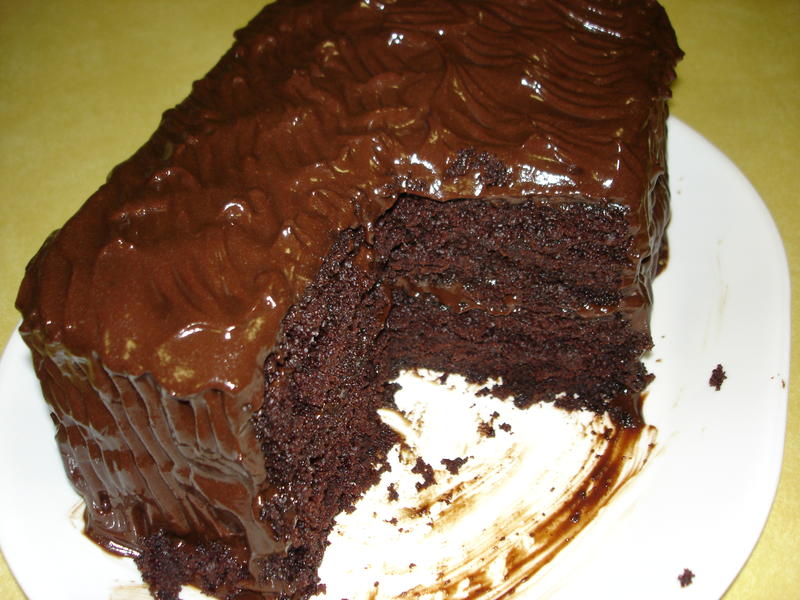
- When the cake is fully constructed, ice the top and sides. Pattern as desired. When storing with plastic wrap, insert toothpicks into cake to prevent wrap from sticking to icing.
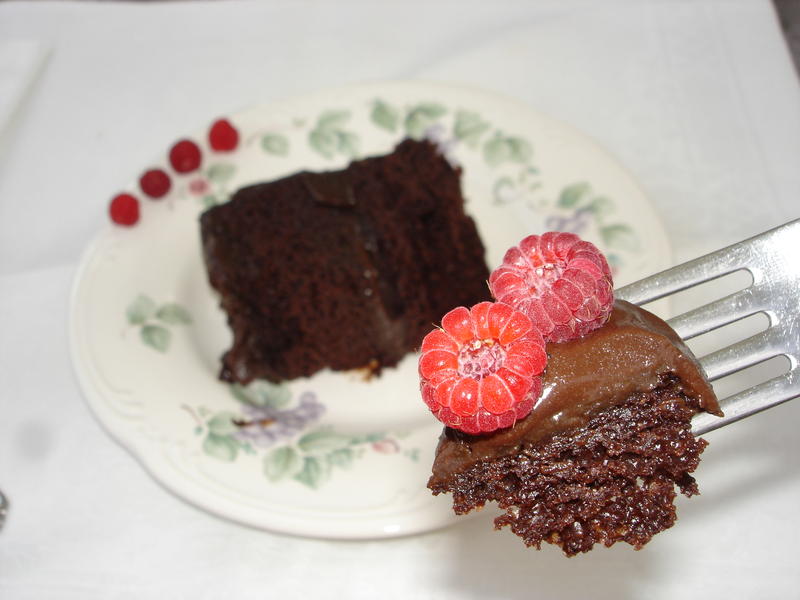
- Garnish and serve as desired. Enjoy accolades.
Recipe in pictures: